How do you create a shell in SolidWorks?
- Click Shell (Features toolbar) or Insert > Features > Shell.
- In the PropertyManager, under Parameters:
- Click .
Similarly, you may ask, what is Shell feature in Solidworks?
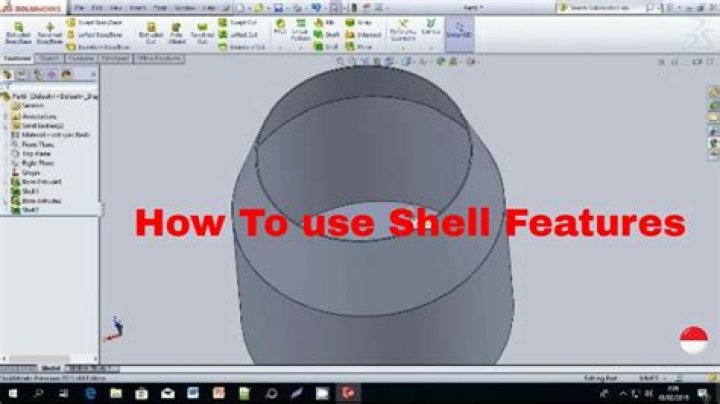
The shell tool hollows out a part, leaves open the faces you select, and creates thin-walled features on the remaining faces. If you do not select any face on the model, you can shell a solid part, creating a closed, hollow model. You can also shell a model using multiple thicknesses.
Beside above, what is the Shell feature used for? About the Shell Feature. The Shell feature hollows out the inside of the solid, leaving a shell of a specified wall thickness. It lets you specify a surface or surfaces that you want to remove from the shell.
Likewise, how do you create a Solidworks assembly?
To create an assembly from a part:
- Click Make Assembly from Part/Assembly (Standard toolbar) or File > Make Assembly from Part. An assembly opens with the Insert Component PropertyManager active.
- Click in the graphics area to add the part to the assembly. SOLIDWORKS makes the first component fixed.
What does the cut extrude feature do in Solidworks?
The Cut-Extrude feature will then project the desired shape of cut based on the selected sketch. The Cut-Extrude feature button will prompt you to set parameters in the menu shown in Figure 6.
Related Question Answers
How do you chamfer in Solidworks?
To create a chamfer: Click Chamfer (Features toolbar) or Insert > Features > Chamfer. Under Chamfer Parameters, select an item and set parameters. Some fields that accept numeric input allow you to create an equation by entering = (equal sign) and selecting global variables, functions, and file properties from a list.How do you make a solid body into a solid body in Solidworks?
To create a solid body, select all the edges, sketches or curves of your model then select the checkbox for “create solid”. The boundary surface feature is just the same as other surfaces feature that creates a solid body with enclosed surfaces or for a volume a closed volume.How do I create a multibody part in Solidworks?
Saving an Assembly as a Multibody Part- Open an assembly document.
- Click File > Save As. The Save As dialog box appears.
- Set the Save as type to Part (*. prt, *.
- Select one of the following: Exterior Faces to save the exterior faces as Surface Bodies .
- Select or clear the following:
- Click Save.
What is multibody design?
What Is Multibody Modeling? In the 1990s, Pro/ENGINEER (the predecessor of Creo Parametric) introduced Skeletons and data-sharing features like Copy Geometry to help manage the design of interdependencies between parts. This is essentially the core of top-down design. Bodies are containers for solid geometry.How do you convert an imported surface to a solid in Solidworks?
To start this process just Right Click on any of the imported surfaces in the Feature Tree then select Attempt to Heal All. This may take some time to complete but once again this may resolve some issues and reduce the amount of work needed to turn your surface body into a solid.How do I make multiple parts from a single part in Solidworks?
To split bodies:- Click Split (Features toolbar) or Insert > Features > Split.
- In the PropertyManager, set the options.
- Under Resulting Bodies, select the bodies to save under , or click Auto-assign Names.
- Double-click the body name under File, type a name for the new part in the dialog box, then click Save.
- Click .
How do you create an assembly?
To create an assembly in the drawing by inserting an assembly from a tool palette- To display the Tool Palettes window: Click Home tab Palettes panel .
- Open the tool palette containing the desired assembly.
- On the tool palette, click the assembly, and then click a location in the drawing. Press Enter to end the command.
How do I move a part in a SolidWorks assembly?
Click Move Component (Assembly toolbar) or Tools > Component > Move. The Move Component PropertyManager appears, and the pointer changes to . Select one or more components in the graphics area. Select a component and drag in any direction.How do you join parts in SolidWorks assembly?
To join parts:- Create the parts that you want to join, then create an assembly containing the parts.
- Position the parts as desired in the assembly.
- Save the assembly but do not close the window.
- Insert a new part into the assembly:
- Close the sketch.
How do I make an assembly video in SolidWorks?
Creating Basic Animations- From a motion study, drag the time bar to set the duration of the animation sequence.
- Drag the assembly component to the end position of the animation sequence.
- Right-click to place a key, or select Autokey (Animation only) to place a key automatically.
- To animate other assembly components:
How do you update an assembly in SolidWorks?
To update an assembly:- In SOLIDWORKS, open an assembly previously built by CircuitWorks.
- In CircuitWorks, make the component changes or open a new ECAD file containing the changes.
- Click Build Model (Tools toolbar).
- In the dialog box, click Yes to update the open assembly.
- To update the SOLIDWORKS assembly, do one: